
I needed a service where I could deploy Jupyter Notebooks with access to GPUs for participants of a workshop I was teaching. The students were supposed to work on fine-tuning LLMs and needed GPUs. Telling them to get a Colab Pro subscription was certainly an option, but, in my case, students expect the organizer to provide all the required resources.
Table of Contents
Only a few services allow you to create Jupyter Notebook environments for others and manage the servers they use. After some testing, I decide to use CoCalc. It’s sufficient for my needs. The user experience is terrible, but CoCalc gets the job done, and the pricing is reasonable.
Speaking of terrible user experience, here is what you will need to do if you want to provision GPU servers for your students:
Before the training day
You must buy a license, create a project, and invite the students. I suggest setting up the system early because the process takes some time. You will also have to create the servers for each student but keep them switched off.
1. Purchase a license for the training day
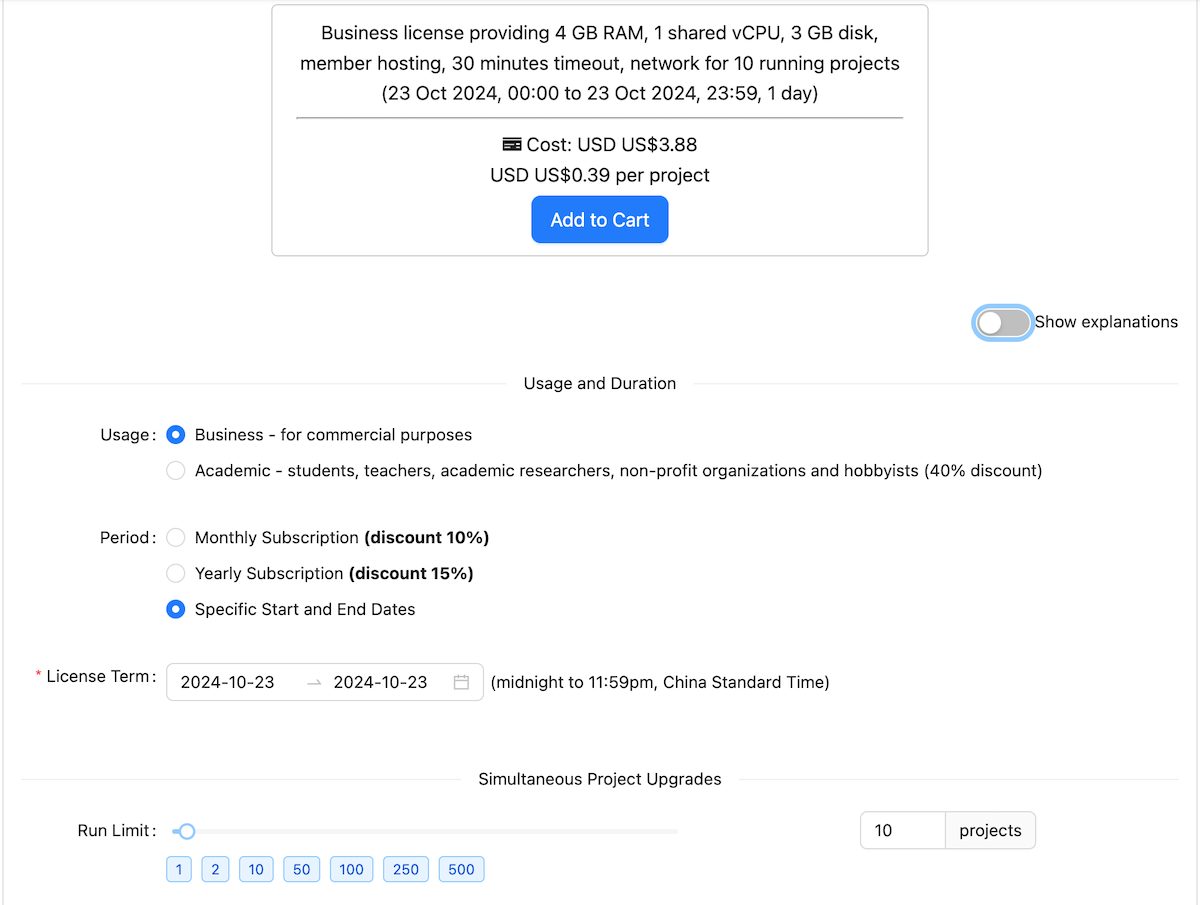
First of all, you need to purchase a license. CoCalc offers long-term licenses or licenses for a specific event. I just need a license for one or two days.
If you run a workshop in a different timezone than yours, either change the system’s timezone while purchasing the license or make sure it’s the same day in both time zones. Otherwise, your license may expire while you are still teaching.
Also, make sure you have a license for enough projects. You will need one for each student and each instructor (including yourself).
2. Create a course project, and the course
After purchasing the license, create a project and assign the license to it.
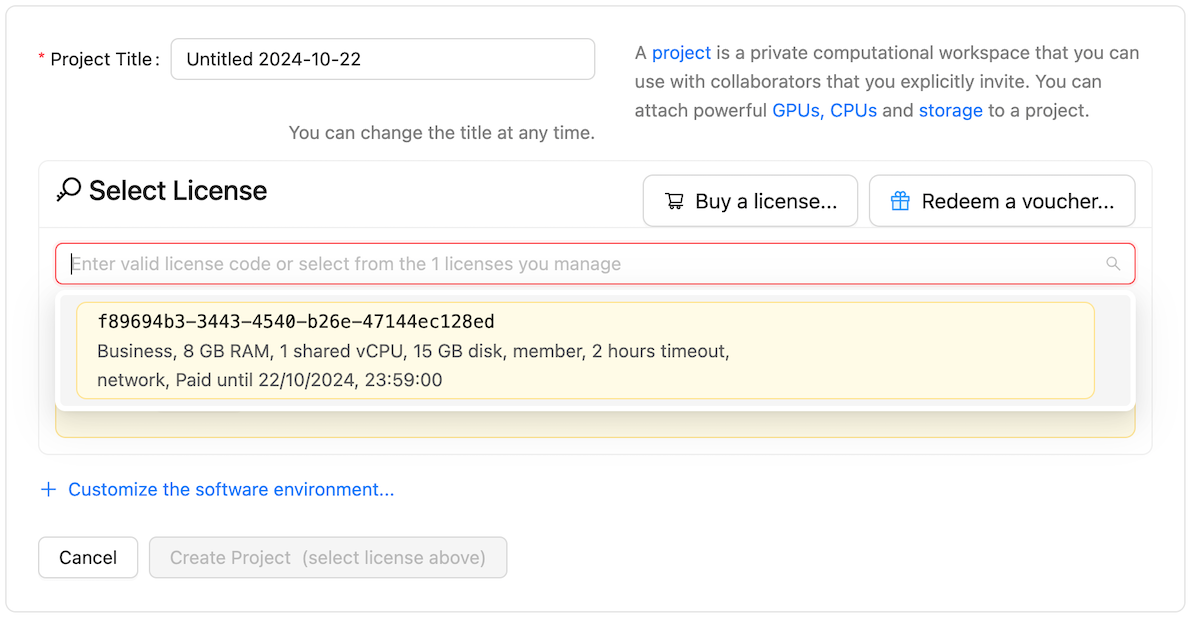
Inside the project, you have to create a course.
3. Invite students to the course project
You have to invite the students before you create servers because the servers are assigned to student accounts. Students may access CoCalc before the workshop, but they won’t be able to do anything if the license isn’t active yet and the server isn’t running.

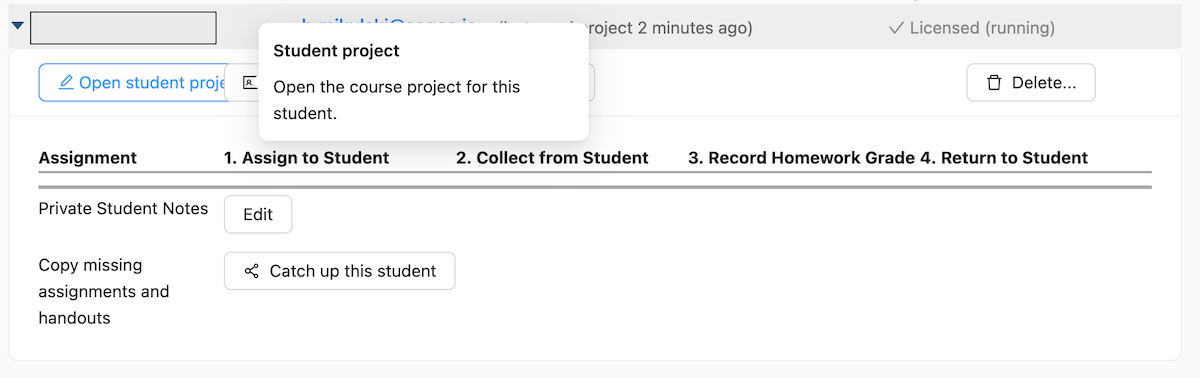
4. Open each student’s project
Unfortunately, there is no way to purchase a server for everyone simultaneously. You have to open each student’s project.
5. Create a server for each student
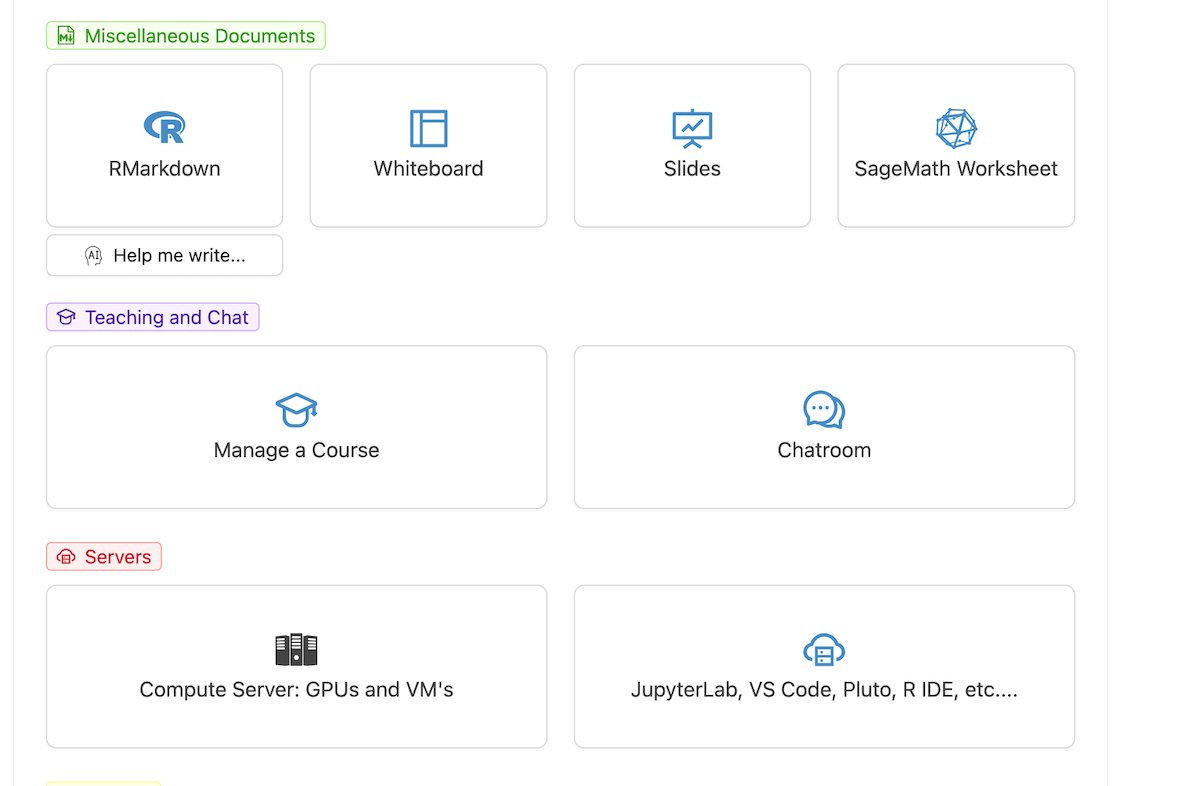
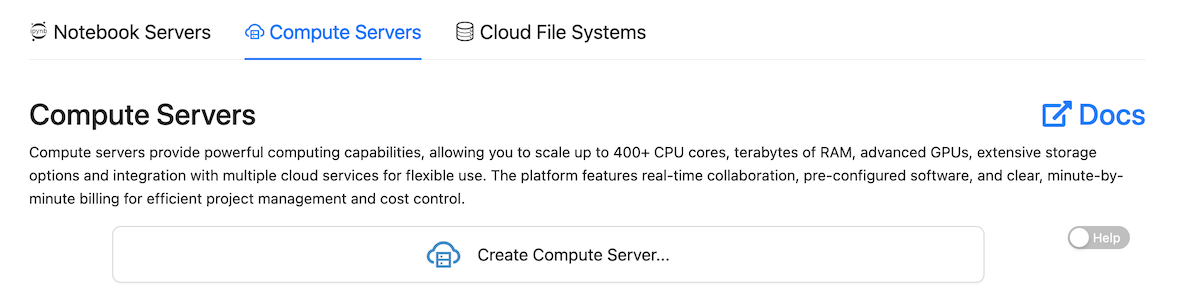
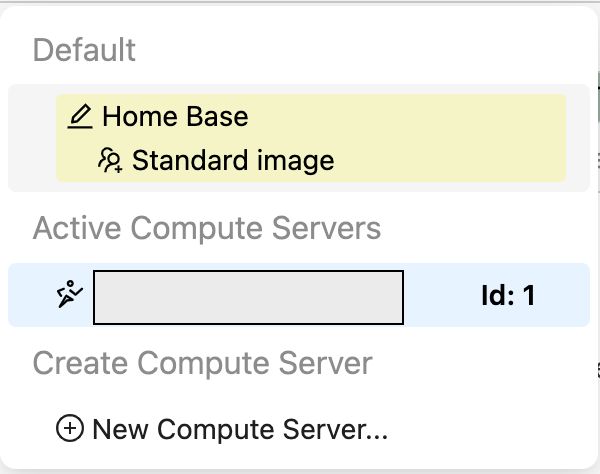
In every project, create a new server in the Servers tab (on the left sidebar). If you want to retain control over the server, don’t grant them access to start/stop the server.
Suppose one of the template servers is enough for your needs, lucky you. Otherwise, you will have to configure a custom one, and there is no way to save the configuration as a template. You will have to repeat the same setup for each student.
During the training day
Start the training day early because you will have to switch the servers on for each student. I hope you don’t have hundreds of students during a single workshop.
1. Start student’s servers
Go to each student’s project, navigate to the Servers tab, and start the server. Sometimes (quite often), the server crashes during the start, and you will have to start it again.
2. Show students how to attach the server to their notebook
Starting the server is not enough. The server is running, but nobody uses it yet. Tell the students to create a new Jupyter Notebook and attach the server to it.
3. Tell students to download the code and data
Remember to tell the students to download the code and data after the training! You will soon delete the servers, and they will lose everything.
After the training
Tell the students to download the code and data again. Half of them haven’t done it yet.
1. Stop student’s servers
Go through each student’s project, navigate to the Servers tab, and stop the server. But it’s not enough to avoid being charged. You still pay for storage. If you don’t need those servers again, it makes no sense to preserve the data.
2. Deprovision the servers
You will have to deprovision (or entirely delete) every server.
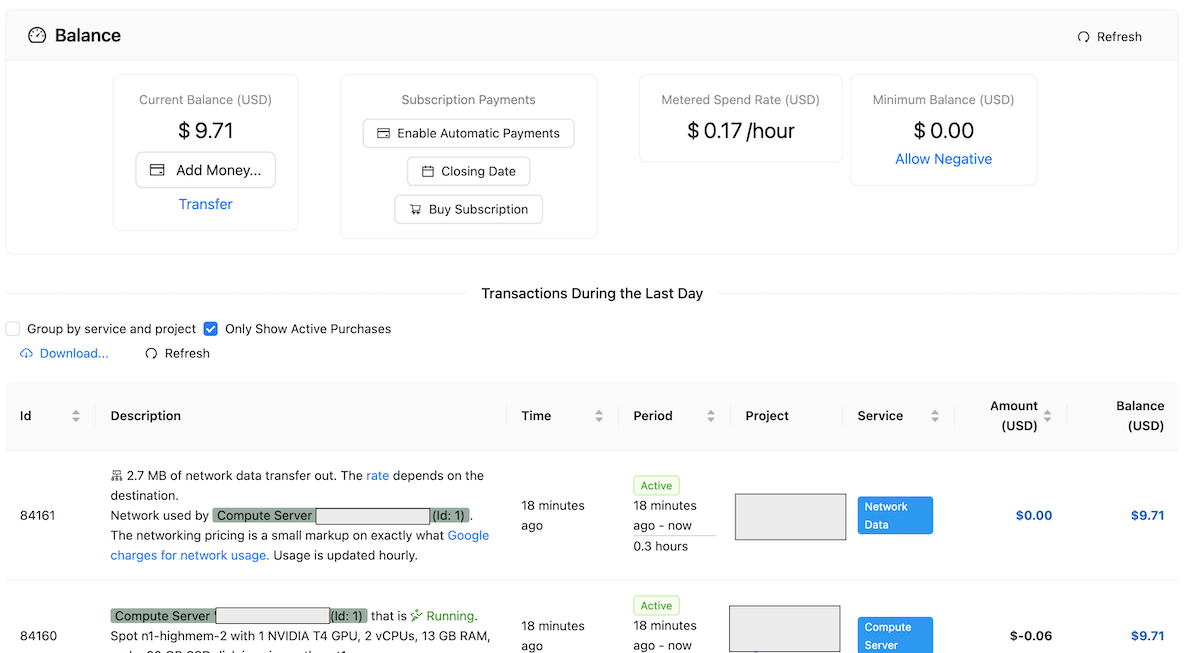
If you wonder what’s still running, go to the Purchases page in your account’s Settings.
3. Or just delete the entire project
Alternatively, you can delete the entire project. Deleting the project will also delete all servers, notebooks, etc.